How To
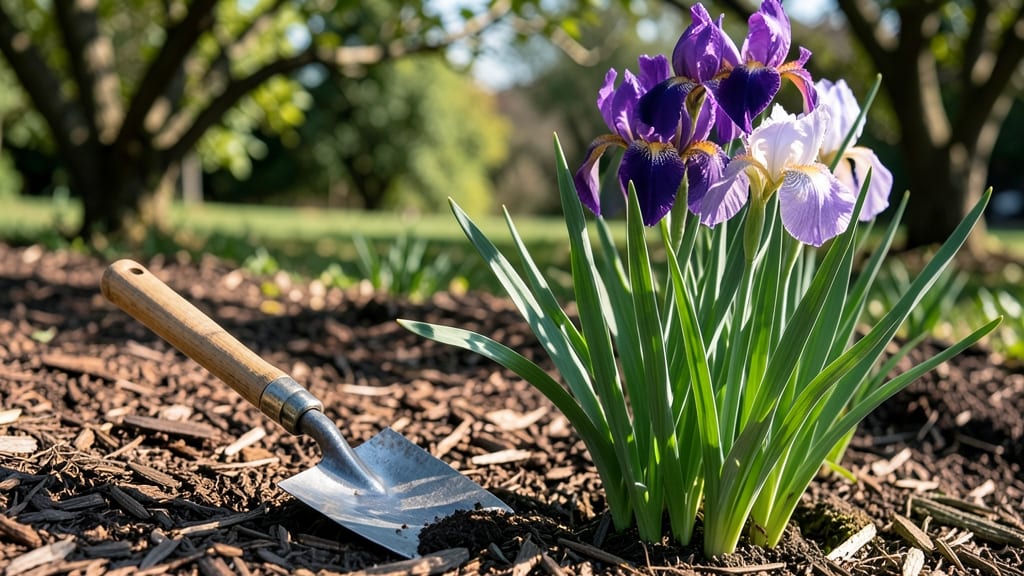
Planting iris tubers right means vibrant purple blooms by late spring—no guesswork, just proven soil steps. I’ve planted dozens of iris varieties, and the difference between a thriving clump and a sad, sparse patch comes down to three key soil moves: drainage, nutrients, and spacing.
The tubers themselves are surprisingly forgiving, but the soil? That’s where most gardeners trip up.
Start with well-draining soil—iris tubers rot faster than they bloom if they sit in soggy ground. Mix in 2-3 inches of coarse sand or grit if your soil packs like wet clay, and avoid heavy amendments like compost right where the tubers go.
You’ll also want to plant them 3-4 inches deep, with the top of the tuber just below the soil line. Timing matters too: aim for fall planting in zones 5-8, or early spring in warmer climates. The roots establish before summer heat hits.
By next spring, you’ll see sword-like foliage pushing through the soil, followed by sturdy stems topped with blooms that last weeks. The secret’s in the patience—iris tubers take 2-3 years to form dense clumps, but once they do, they multiply like wildfire.
Even my first attempt, with tubers I bought at a flea market, produced 20 blooms the second year. That’s the power of getting the soil right from day one.
Works for both sunny borders and cottage gardens, and the same steps apply whether you’re planting bearded iris, Siberian iris, or Louisiana iris. Just watch for slugs on new shoots—those slimy pests adore tender iris foliage. Here’s how to set it up without overcomplicating things.
📚 In This Guide
- What you need
- Instructions
- Tips and common mistakes
- Wrapping up and next steps
What you need
- ● Iris tubers: Healthy, firm rhizomes (tubers) with at least one fan of leaves. Aim for 3–5 tubers per square foot for a lush display.
- ● Garden soil: Well-draining, slightly sandy loam (pH 6.0–7.0). Avoid heavy clay or waterlogged soil.
- ● Compost or organic matter: 2–3 inches mixed into the top 6–12 inches of soil to improve fertility.
- ● Garden fork or tiller: For loosening soil to a depth of 12–18 inches.
- ● Gloves: Heavy-duty garden gloves to protect your hands from sharp rhizome edges.
- ● Pruning shears or knife: For trimming dead foliage and dividing clumps if needed.
- ● Watering can or hose with a gentle nozzle: For even moisture without disturbing tubers.
- ○ Mulch (optional but recommended): 1–2 inches of shredded bark or straw to retain moisture and suppress weeds.
- ● Slow-release fertilizer: A balanced 10-10-10 or phosphorus-rich formula (e.g., 5-10-10) to encourage root growth.
- ● Soil pH test kit: To ensure your soil is in the ideal range (irises hate acidic soil!).
- ● Rhizome divider: A specialized tool for cleanly separating tubers if your clumps are overcrowded.
- ● Plant labels: To track varieties, especially if you’re growing multiple types.
Step-by-Step instructions for planting iris tubers
Here's the straightforward method I use every spring to get vibrant iris blooms without fuss.
Prepare the Planting Site
Choose a location with full sun exposure—iris thrives with at least 6 hours of direct sunlight daily. The soil should drain exceptionally well, as iris roots rot quickly in soggy conditions. If your garden soil is heavy clay, amend it with 2-3 inches of coarse sand or perlite mixed into the top 12 inches of soil. This ensures water flows away from the rhizomes rather than pooling around them.
Loosen the soil to a depth of 10-12 inches with a garden fork, breaking up any compacted layers. Iris rhizomes need room to spread horizontally, so avoid digging too deep. Test the soil pH—iris prefers a slightly acidic to neutral range of 6.0 to 7.0. If your soil is too alkaline, add sulfur or peat moss to adjust it before planting.
Position and Plant the Iris Tubers
Handle iris rhizomes carefully—they bruise easily, and damaged tubers won’t thrive. Plant them 2-3 inches deep, partially exposed to sunlight. The top of the rhizome should sit just above the soil line, not buried. This exposure prevents rot and encourages strong root growth. Space rhizomes 12-24 inches apart, depending on the variety—dwarf irises can be closer, while standard types need more room.
Place each tuber in a small hole, then firm the surrounding soil gently to eliminate air pockets. Avoid pressing too hard, as iris roots are delicate. If planting in a row, dig a shallow trench instead of individual holes for efficiency. Water lightly immediately after planting to settle the soil, but don’t soak the rhizomes—excess moisture here leads to rot.
Mulch and Maintain Through the Growing Season
Apply a 2-inch layer of mulch around the plants, keeping it 3-4 inches away from the rhizomes to prevent moisture buildup. Use pine straw, shredded bark, or gravel—organic mulches break down over time, while gravel stays in place longer. Mulching conserves moisture, suppresses weeds, and protects rhizomes from extreme temperature swings.
Water deeply once a week during the first growing season, ensuring the soil 6 inches down stays moist but not waterlogged. Iris are drought-tolerant once established, but young plants need consistent moisture to develop strong roots. Reduce watering in late summer to encourage dormancy before winter. You’ll know your irises are happy when fan-like leaves emerge in early spring, followed by bold, upright blooms in 4-6 weeks.
Fertilize and Winterize for Next Year
Apply a low-nitrogen, balanced fertilizer (like 10-10-10) in early spring as new growth appears. Iris don’t need heavy feeding—too much nitrogen promotes leaf growth at the expense of flowers. Scatter the fertilizer 6 inches away from the rhizomes and water it in lightly. Repeat in early fall to strengthen roots for winter.
In late fall, cut back dead foliage but leave 3-4 inches of stems attached. This protects the rhizomes from freezing temperatures while allowing snow to insulate the soil. In colder climates, add a 3-inch layer of mulch over the rhizomes for extra protection. With proper care, your iris will multiply over time, creating clumps of vibrant blooms for years to come.
Tips & tricks for planting iris tubers
A few key strategies will help you avoid common pitfalls and ensure your iris rhizomes thrive from the moment they hit the soil.
Soil Preparation is Non-Negotiable: The 10-12 inch soil loosening in Step 1 isn't just about aesthetics—it creates essential air pockets that prevent waterlogging. If you're working with heavy clay, take extra time to break up those compacted layers completely. I've seen iris plants fail spectacularly when planted in unamended clay because the roots can't breathe. For existing gardens, consider a soil test before planting to confirm that pH adjustment is necessary—some garden centers offer quick test kits that give results in minutes.
Rhizome Handling Matters More Than You Think: When planting those 2-3 inch deep rhizomes in Step 2, treat them like fragile glassware. The top should indeed sit just above soil level, but any bruising from rough handling can create entry points for disease. I recommend planting on a dry day when the soil isn't sticky—it's easier to position them properly. For large plantings, consider wearing gardening gloves to protect both the rhizomes and your hands from the sharp edges of the planting tools.
Mulching Strategy Prevents Common Failures: The 2-inch mulch layer in Step 3 serves multiple purposes beyond just weed suppression. Keep that mulch 3-4 inches away from the rhizomes to prevent moisture buildup that leads to rot. I've found that pine straw works particularly well because it breaks down slowly while still allowing water to penetrate. In hot climates, you might need to add a second layer of mulch during peak summer months to protect the rhizomes from extreme heat stress.
Watering Wisdom for Long-Term Success: That weekly deep watering in Step 3 requires precision—6 inches down should be moist but not soggy. I use a soil moisture meter to check regularly, especially during the first growing season. The goal is to encourage strong root development without creating waterlogged conditions that invite rot. Once established, iris are remarkably drought-tolerant, but young plants need that consistent moisture to develop properly before they can handle dry spells.
Pro Tips for Planting Iris Tubers
- A few key strategies will help you avoid common pitfalls and ensure your iris rhizomes thrive from the moment they hi...
- Soil Preparation is Non-Negotiable: The 10-12 inch soil loosening in Step 1 isn't just about aesthetics—it creates es...
- Rhizome Handling Matters More Than You Think: When planting those 2-3 inch deep rhizomes in Step 2, treat them like f...
Frequently asked questions
Got questions about planting iris tubers?
You’re not alone! Here are answers to the most common concerns—from timing to troubleshooting—so you can grow stunning blooms with confidence.
When is the best time to plant iris tubers?
Plant iris tubers in early fall (September–October) or late winter/early spring (February–March) in cooler climates. This gives roots time to establish before summer heat. Avoid planting in mid-summer—the tubers need dormancy to thrive!
Can I plant iris tubers in winter?
Yes, but only in mild-winter zones (USDA 7+). In colder areas, wait until spring after the last frost (around March–April). If planting in winter, mulch heavily to protect tubers from freezing. Pro tip: Soak tubers for 1–2 hours before planting to kickstart root growth!
What if my iris tubers rot after planting?
Rot usually means overwatering, poor drainage, or planting too deep. Ensure soil drains well (sandy loam is ideal) and plant tubers with the top half exposed. Space them 12–24 inches apart to prevent fungal issues. If rot occurs, dig up affected tubers, trim mushy areas, and replant in fresh soil.
Do iris tubers need full sun?
Iris tubers thrive in full sun (6+ hours daily). While they tolerate partial shade, blooms will be fewer and smaller. Choose a spot with morning sun and afternoon shade in hot climates to prevent stress. Bonus: Yellowing leaves? It might be too much shade—relocate for better light!
How long until iris tubers bloom?
With proper care, iris tubers bloom in 2–3 years after planting. First-year tubers focus on root growth, so don’t expect flowers. Second-year plants may produce a few flowers, but full blooms typically appear in the third spring. Patience pays off—healthy tubers reward you with vibrant displays!
Wrapping up and next steps
Planting iris tubers is a rewarding way to add vibrant color and elegance to your garden with minimal effort!
By following these three simple soil steps—preparing the bed, placing the rhizomes correctly, and providing the right care—you’ll set the stage for stunning spring blooms. Don’t let hesitation hold you back: grab your gloves, dig in, and watch your garden transform!
Ready to take the next step? Mark your calendar for late summer or early fall to divide and replant your irises—it’s the perfect time to refresh your garden and share these beauties with friends! 🌸