Planting
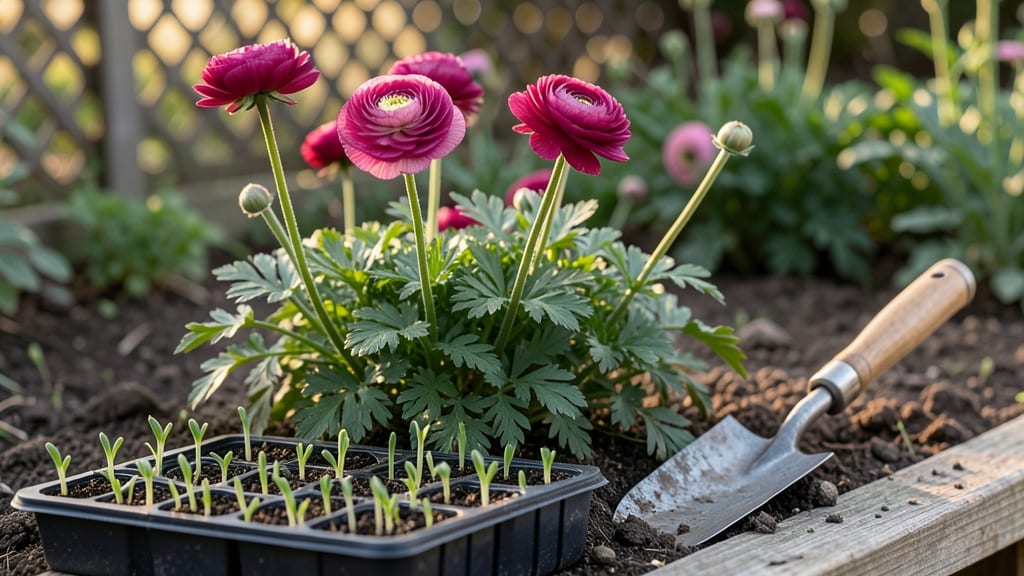
Fall-planted ranunculus bulbs are my secret weapon for early spring color—those delicate, papery blooms appear weeks before most perennials even think about waking up. 🌸 I’ve planted them for years, and the key isn’t just timing but creating the right conditions so they survive winter’s chill and emerge stronger than ever.
The trick starts with soil that drains like a dream and a planting window that avoids late-season frosts.
You’ll need well-draining soil, a sunny spot with at least six hours of light, and a few inches of mulch to insulate the bulbs through winter. Most gardeners plant in October or November, but zone 7 and warmer can wait until December—just get them in before the ground freezes solid.
Overcrowding is the enemy, so space them 4-6 inches apart for those lush, layered blooms next spring.
What you’ll get is a burst of color—soft pinks, whites, and purples—that feels like a hug from spring. The blooms last longer than tulips and come back year after year if you protect them from winter moisture.
I’ve seen them push through snow in late February, and that’s the magic of planting them right.
Works in containers too—just use a well-draining mix and keep them in a sheltered spot. The bulbs are tougher than they look, but a little extra care in fall means fewer surprises in spring. Let’s get those planted!
📚 In This Guide
- What you need
- Instructions
- Tips and common mistakes
- Wrapping up and next steps
What you need
- ● Ranunculus bulbs (corms): 10–20 bulbs per square foot (choose early-spring varieties for vibrant blooms).
- ● Well-draining potting soil or garden soil: Mix with perlite or coarse sand (ratio: 2 parts soil to 1 part amendment) for optimal drainage.
- ● Garden fork or trowel: For digging planting holes (6–8 inches deep).
- ○ Compost or slow-release fertilizer (optional but recommended): 1–2 cups per planting area (5-10-10 NPK ratio works well).
- ● Mulch (straw or shredded leaves): 2–3 inches to protect bulbs over winter.
- ● Planting grid or stakes: For even spacing (ranunculus love 4–6 inches apart!).
- ● Slow-release bulb fertilizer: Sprinkle lightly over planted corms for a nutrient boost.
- ● Garden twine or labels: To mark planting spots (trust us, you’ll thank yourself in spring!).
- ● Watering can with a fine rose: For gentle hydration after planting.
Step-by-Step instructions for planting ranunculus in fall
Here's how to get vibrant spring blooms by planting these delicate flowers now.
🌱 Step 1: Prepare the Planting Site
Choose a location with full sun to partial shade—at least 4-6 hours of sunlight daily. Ranunculus thrives in well-draining soil, so avoid low spots where water pools. If your garden soil is heavy clay, mix in 2-3 inches of compost to improve drainage and fertility.
Loosen the soil to a depth of 12 inches with a garden fork or tiller. This helps roots establish quickly during fall's cooler temperatures. Work in any remaining amendments until the soil feels light and crumbly—like a well-fluffed cake batter. Avoid working the soil when it's wet, as compacted soil will slow root growth.
🌿 Step 2: Plant the Corms Properly
Ranunculus grows from corms, which look like small, rounded bulbs. Plant them 2-3 inches deep and 3-4 inches apart in rows spaced 6-8 inches apart. The flat side should face down, while the pointed end points upward—this ensures proper growth orientation.
I like to plant them in clusters of 5-7 corms for a fuller look, especially when creating borders or edging. Space clusters 12 inches apart to give each group room to expand. After planting, gently firm the soil around the corms with your fingers to eliminate air pockets that could hinder root development.
💧 Step 3: Water and Mulch for Winter Protection
Water the newly planted corms thoroughly right after planting to settle the soil and encourage root growth. Keep the soil consistently moist but not soggy for the first 2-3 weeks—about 1 inch of water per week. Once roots establish, ranunculus becomes quite drought-tolerant, but fall moisture helps them get a strong start.
Apply a 2-inch layer of mulch over the planting area to insulate the corms during winter. I use straw or shredded leaves because they break down slowly and won't compact like heavier mulches. This layer protects corms from extreme temperature fluctuations and prevents soil heaving during freeze-thaw cycles.
☀️ Step 4: Monitor and Prepare for Spring Growth
Check your planting area occasionally during winter for signs of heaving soil. If the ground shifts and exposes corms, gently push the soil back around them. Ranunculus corms are hardy down to 10°F, but heavy mulch provides extra protection in colder climates.
In early spring, when you see new shoots emerging (typically in late winter or early spring), remove the mulch. This prevents rot from excess moisture as growth accelerates. You'll know it's time when the soil surface looks slightly disturbed and tiny green leaves begin to appear.
✂️ Step 5: Fertilize and Support for Blooming
Once shoots reach 3-4 inches tall, apply a balanced, slow-release fertilizer (like 10-10-10) at half strength. This gives them a gentle nutrient boost without risking burn. I like to sprinkle fertilizer around the base, then water it in thoroughly to distribute it evenly through the soil.
As stems grow taller, they'll need support. Install 4-inch tall stakes or a low wire mesh around clusters to prevent stems from flopping over. Ranunculus blooms are delicate, and wind or rain can damage them. You'll see buds form in late spring—typically 8-10 weeks after shoots emerge—and the first flowers will appear in early spring, bringing that coveted burst of color.
Tips & tricks for perfect fall-planted ranunculus
These little tricks will help you avoid common mistakes and get the most vibrant spring blooms from your fall planting.
Soil Preparation is Everything: In Step 1, when loosening that 12-inch depth of soil, I can't stress enough how important this is. Ranunculus roots need room to breathe, especially in cooler fall temperatures. If your soil feels compacted like wet sand, mix in an extra 1-2 inches of compost—this gives roots the perfect, airy environment they crave. Think of it like fluffing a pillow for your corms to nestle into comfortably.
Planting Orientation Matters: Here's what nobody tells you—those corms have a personality! In Step 2, when planting, make sure the flat side faces down and the pointed end points up. This isn't just a suggestion; it's crucial for proper growth. I've seen corms planted upside down still grow, but they'll be stunted and produce fewer blooms. Take the extra 10 seconds to orient them correctly—your future flowers will thank you.
Watering Wisdom: The 2-3 weeks of consistent moisture in Step 3 is non-negotiable, but here's the secret: water deeply but infrequently. Instead of daily light sprinkles, give them a thorough soaking once a week. This encourages roots to grow deeper in search of moisture, making your ranunculus more drought-resistant once established. Just make sure that 1 inch per week measurement includes rainfall too—no need to double up!
Mulch Like a Pro: That 2-inch mulch layer in Step 3 isn't just for looks—it's insulation for your corms during winter's temperature swings. I've found that straw works better than shredded leaves in windy areas because it doesn't blow away. Plus, straw breaks down more slowly, providing longer protection. Just remember to remove it in early spring when those first green shoots appear—you'll know it's time when you see little disturbances in the soil surface.
Pro Tips for Fall Planted Ranunculus
- These little tricks will help you avoid common mistakes and get the most vibrant spring blooms from your fall planting.
- Soil Preparation is Everything: In Step 1, when loosening that 12-inch depth of soil, I can't stress enough how impor...
- Planting Orientation Matters: Here's what nobody tells you—those corms have a personality! In Step 2, when planting, ...
Frequently asked questions
Got questions about growing fall-planted ranunculus? You’re not alone—this delicate bloom has a few quirks! Here are answers to the most common concerns to help you cultivate a stunning early-spring display with confidence.
When is the best time to plant ranunculus in fall?
Plant your ranunculus 6–8 weeks before your first hard frost (typically late September to early November in most U.S. zones). This timing ensures roots establish before winter, while leaving enough time for foliage to die back naturally. Pro tip: Check your local frost dates—aim for a window where soil temps hover around 40–50°F.
Can ranunculus survive a harsh winter?
Yes! Ranunculus is surprisingly hardy for a cut-flower star. Mulch with 2–3 inches of straw or shredded leaves after planting to insulate roots. In Zone 5 or colder, add a light layer of burlap over mulch for extra protection. Just avoid heavy snow compaction—brush it off occasionally to prevent rot.
Why aren’t my ranunculus bulbs blooming in spring?
Missing blooms often stem from overwatering or poor drainage. Ensure bulbs are planted in well-draining soil (sandy loam is ideal) and water sparingly after planting—only enough to keep soil moist, not soggy. Bonus: If blooms flop, stake them early with floral picks or small pebbles.
Are there low-maintenance alternatives to ranunculus?
If ranunculus feels fussy, try these easy spring bloomers:
- Tulips: Plant in fall, bloom reliably, and tolerate colder climates.
- Daffodils: Deer-resistant and perennial—once planted, they return yearly.
- Sweet peas: Cold-hardy annuals that thrive in cool weather and self-seed.
Can I replant ranunculus bulbs after they bloom?
Yes! After blooming, cut back foliage but leave bulbs in the ground for 6–8 weeks to recharge. Dig them up in late summer, dry them in a shady spot, and store in a cool, dark place (like a mesh bag in the fridge) until replanting next fall. Fun fact: Reused bulbs often produce even more flowers!
Wrapping up and next steps
Fall-planted ranunculus is your ticket to a vibrant, low-maintenance spring display that will dazzle neighbors and pollinators alike! With just a few bulbs, a little patience, and a dash of autumn preparation, you’ll unlock a garden full of cheerful blooms—no green thumb required. 🌸
Ready to bring this magic to your yard? Start by gathering your supplies, then dive into planting before the first frost. Once your ranunculus are in the ground, sit back and let nature do the rest—your early spring reward will be worth every effort!