Flowers
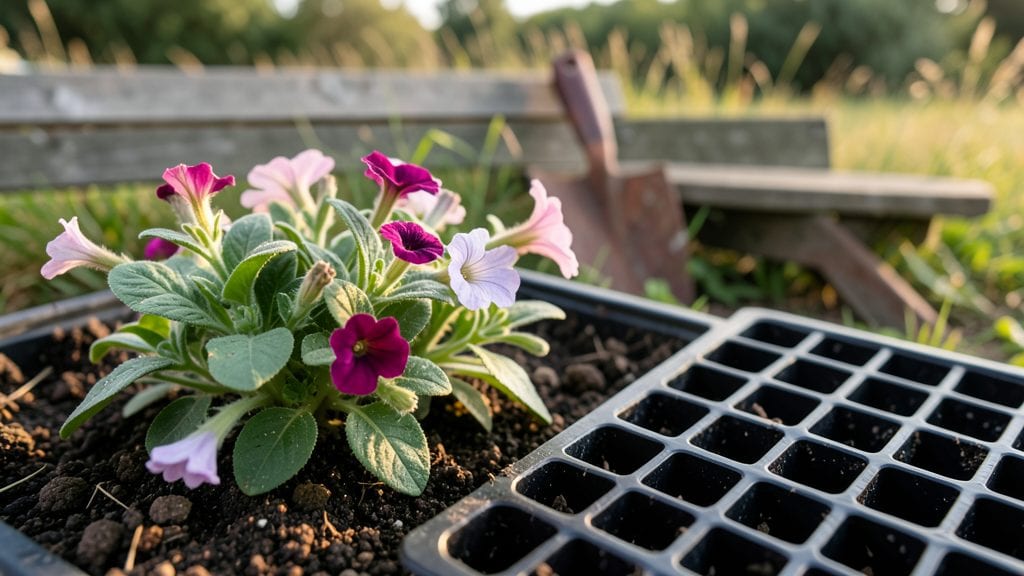
Freshly planted flowers need more than just a hole in the ground—they need a root-friendly environment to thrive. 🌱 I learned this the hard way when my first batch of petunias wilted despite perfect weather, and it all came down to soil prep and watering habits.
The key is mimicking their natural habitat: loose soil, consistent moisture, and protection from stress during those critical first weeks.
Start with soil that drains well but holds moisture—amend heavy clay with compost or sand if needed. Space plants according to their mature size (check the tag!), and water deeply right after planting to settle roots.
Mulch helps retain moisture and keeps soil temps steady, which is especially important in hot climates. My biggest mistake? Skipping the mulch and letting soil dry out too fast.
In those first two weeks, you’ll notice new growth as roots establish—this is when flowers either make it or give up. Keep watering at the base (not overhead) to prevent fungal issues, and avoid fertilizing until you see fresh leaves.
The payoff? Flowers that bloom stronger, last longer, and come back bigger next season.
Timing matters too: spring and fall are ideal for most flowers, but heat-loving varieties like zinnias can handle summer planting if you give them afternoon shade. The same rules apply whether you’re planting annuals, perennials, or bulbs—root care is the foundation of everything else.
📚 In This Guide
- What you need
- Instructions
- Tips and common mistakes
- Wrapping up and next steps
What you need
- ● Flower plants: Choose healthy, disease-free specimens (check for vibrant leaves and sturdy stems). Quantity depends on your garden size—aim for 1-3 plants per square foot for optimal spacing.
- ● High-quality potting soil or garden soil: Use a well-draining mix (e.g., Miracle-Gro Potting Mix or FoxFarm Ocean Forest). For containers, ensure it’s sterile to prevent pests.
- ● Containers or garden bed: For in-ground planting: Loosen soil to 12–18 inches deep for better root penetration.
- ● For containers: Choose pots with drainage holes (minimum 6–12 inches deep, depending on plant size). Terracotta or fabric pots work well!
- ● Watering can or hose with a gentle nozzle: Avoid blasting roots—aim for deep but gentle hydration.
- ● Organic mulch (e.g., shredded bark or straw): Apply a 2–3 inch layer to retain moisture and suppress weeds.
- ● Slow-release fertilizer: Granular or spike form (e.g., Osmocote Smart-Release) to nourish roots over 3–6 months.
- ● Compost or worm castings: Mix 10–20% into soil for added nutrients (great for organic gardens!).
- ● Plant supports (stakes or cages): For tall or top-heavy flowers like delphiniums or sunflowers.
- ● pH testing kit: Ensure soil pH matches your flowers’ needs (e.g., azaleas love acidic soil, roses prefer slightly alkaline).
- ● Drip irrigation system: Automates watering for busy gardeners (ideal for large beds).
Step-by-Step guide to caring for newly planted flowers
Here's how to give your new blooms the best start—keeping them thriving through their first critical weeks.
💧 Step 1: Water Deeply at Planting and Keep Soil Moist
Water each plant immediately after transplanting until the top 6 inches of soil feels uniformly damp. Use a garden hose with a gentle spray nozzle or watering can with a narrow spout to avoid disturbing the roots. I like to water in the early morning so the soil has all day to absorb moisture before evening evaporation.
After the first watering, check the soil daily. For the first two weeks, keep the top 2-3 inches of soil consistently moist—not soggy, but never letting it dry out completely. Stick your finger in the soil: if it feels dry at that depth, it's time to water again. Overwatering now can suffocate young roots, while underwatering stresses plants before they establish.
☀️ Step 2: Provide Strategic Shade for the First Week
Newly planted flowers need partial shade for their first 7-10 days to reduce transplant shock. If planting in full sun, create shade with floating row covers, lightweight shade cloth (30-50%), or even a piece of cardboard propped up at an angle. This protects delicate leaves from intense sunlight while allowing some light to reach the plants.
Watch for signs of stress: if leaves look wilted or scorched during the day but perk up at night, the shade isn't sufficient. If they stay limp even after watering, they're getting too much shade. Adjust your cover accordingly—you're aiming for bright but diffused light during these early days.
🌱 Step 3: Apply a Light Mulch Layer to Retain Moisture
Spread 2-3 inches of organic mulch (like shredded bark or straw) around each plant, keeping it 2-3 inches away from the stems to prevent rot. This layer locks in moisture and regulates soil temperature, which is especially important in hot afternoons or cool evenings. I use straw mulch because it breaks down slowly and adds organic matter to the soil as it decomposes.
Replenish the mulch as it breaks down during the first month, always maintaining that 2-3 inch layer. Avoid piling mulch against the stems—this can trap moisture and encourage disease. Instead, create a donut-shaped ring around each plant to channel water directly to the roots.
✂️ Step 4: Monitor for Pests and Fertilize Lightly After 3 Weeks
Inspect plants 2-3 times weekly for early signs of pests like aphids or spider mites. Newly planted flowers are particularly vulnerable because their energy goes into root growth rather than defense. If you spot pests, treat immediately with neem oil (mixed according to package instructions) or a soapy water spray (1 tablespoon mild dish soap per gallon of water).
After 3 weeks, when you see new growth appearing, apply a balanced, water-soluble fertilizer (like 10-10-10) at half-strength. This gives your flowers a gentle nutrient boost without overwhelming their developing root systems. I fertilize again every 4-6 weeks during the growing season, always watering thoroughly before and after application.
🪴 Step 5: Gradually Acclimate to Full Sun and Wind
After the initial 10-day shade period, begin acclimating plants to full sun by removing shade covers for 2-3 hours daily, increasing by 1 hour each day. This gradual exposure prevents sunburn on leaves that have spent weeks in lower light conditions. You'll see leaves gradually darken and thicken as they adapt—this is a good sign they're adjusting well.
If your flowers are in a windy location, provide temporary windbreaks using bamboo stakes with mesh fabric or even sturdy cardboard panels for the first 2 weeks. Wind can dry out young plants quickly and damage tender stems. Once plants show stronger growth (typically after 4-6 weeks), they'll be better equipped to handle natural wind conditions.
Tips & tricks for freshly planted flowers
Here's the thing—those first few weeks make or break your flowers. I've seen beautiful blooms wither from well-meaning but misguided care, and I want to save you that heartbreak.
Watering Wisdom: In Step 1, when you're checking that top 2-3 inches of soil, pay attention to the texture—not just moisture. Sandy soil dries out faster than clay, so adjust your watering schedule accordingly. I've learned the hard way that morning watering isn't just about evaporation—it's also about giving roots time to absorb moisture before nighttime cooling.
Shade Strategy: That 7-10 day shade period in Step 2 is non-negotiable for delicate varieties. I've used everything from cheesecloth to old bedsheets in a pinch—just make sure whatever you choose allows some light through. Pro tip: Secure your shade cover with bricks or stakes so wind doesn't rip it away during storms, leaving your plants exposed.
Mulch Mastery: When applying that 2-3 inch mulch layer in Step 3, think of it as insulation for your plant's roots. Dark mulches like shredded bark absorb heat during the day and release it at night, which is perfect for cool evenings. The donut shape around stems isn't just about aesthetics—it prevents moisture from pooling, which could rot tender stems.
Pest Prevention: Those 2-3 weekly inspections in Step 4 are your best defense against early pest attacks. I keep a spray bottle of neem oil mixed with water (1 tablespoon per quart) ready to go—it's gentler than soapy water and works preventatively too. Check the undersides of leaves first; that's where pests love to hide and start their feast.
Pro Tips for Freshly Planted Flowers
- Here's the thing—those first few weeks make or break your flowers.
- Watering Wisdom: In Step 1, when you're checking that top 2-3 inches of soil, pay attention to the texture—not just moisture.
- Shade Strategy: That 7-10 day shade period in Step 2 is non-negotiable for delicate varieties.
Frequently asked questions
Got questions about keeping your freshly planted flowers thriving? You’re not alone! Here are some of the most common concerns—and their solutions—to help your garden bloom beautifully.
How long does it take for freshly planted flowers to establish roots?
Most flowers take 4 to 6 weeks to establish a strong root system, though some perennials may need up to 3 months. During this time, focus on consistent watering (1-2 inches per week) and avoid heavy fertilizing. Signs of success? New leaves or stems—your plants are telling you, “I’m settling in!”
Can I fertilize freshly planted flowers right away?
Wait 4 to 6 weeks before fertilizing! New roots are delicate, and too much food too soon can burn them. Instead, use a balanced, slow-release fertilizer (like 10-10-10) or compost tea. Think of it like a baby’s first steps—patience and gentle support win the race.
How often should I water freshly planted flowers?
Water deeply 2-3 times per week (or daily in extreme heat) for the first month. Aim for 1-2 inches of water per week, delivered at the soil level (not the leaves) to prevent disease. Mulch lightly (1-2 inches) to retain moisture—your flowers will thank you with vibrant blooms!
What if my freshly planted flowers wilt or turn yellow?
Wilting or yellowing often signals overwatering, underwatering, or stress. Check the soil: if it’s soggy, reduce watering; if dry, hydrate immediately. Yellow leaves? Could be nutrient deficiency or root rot. Trim damaged foliage and adjust care—most flowers bounce back with the right TLC!
Can I plant flowers in late summer or fall for spring blooms?
Fall planting
(4-6 weeks before frost) gives roots time to establish before winter dormancy. Choose cool-season flowers like pansies, snapdragons, or calendula. For late-summer plantings, opt for fast-rooting annuals (e.g., zinnias or marigolds) and keep soil moist. Timing is everything!
Still stumped? Drop your question below—we’re happy to help your garden grow!
Wrapping up and next steps
Your freshly planted flowers are now off to a thriving start! Remember, the key to first-year success lies in consistent care—proper watering, sunlight, and soil health—while staying patient as roots establish.
With these root-boosting tips, you’re setting your blooms up for vibrant growth and stunning displays for seasons to come.
Ready to watch your garden flourish? Take the next step:
- Mark your calendar for your next watering and soil check.
- Snap a photo of your progress—track those happy growth milestones!
- Share your tips with fellow gardeners to inspire more blooms!